Introduction
Well it’s been an interesting 6 months working for a vendor and I’ve finally found some time to commit some new posts and get my blog back on track. After the Top Virtualisation Blog results for 2014 it’s given me some incentive to reboot the blog and change tact. I really want to start blogging about some of the technical work I’ve been doing specifically with Nutanix, the technology behind this product is really quite fascinating so I’m going to make a big effort to share something regularly with you as I design, deploy and manage this web-scale platform.
Nutanix Controller VM Software Upgrade
Let’s start off with revealing the procedure to upgrade a controller virtual machine (CVM), ‘so what’ you may say, well this is interesting as there’s a single CVM on each hypervisor host which may be mistaken for a single point of failure, when in actual fact if we turn off a CVM a feature called Autopathing is enabled and redirects the I/O of the VMs on that Hypervisor host to another CVM on a different Hypervisor host – web scale makes you look at everything differently. This has several benefits including allowing you to upgrade the NOS on a CVM without any disruption! Lets run through the upgrade procedure how it stands today with NOS 3.5, then I want to show you what’s significantly new with NOS 4.0: – High level steps today are: –
- Obtain the latest version of NOS from the Nutanix Support Portal
- Ensure all nodes are running properly
- Enable auto install on the cluster
- Perform some checks to determine stability of environment prior to upgrade
- Temporarily Disable email alerts
- Copy and unzip the update to a single CVM
- Start the upgrade on a single CVM
- Monitor the upgrade of each CVM while ‘Autopathing’ is active, allowing VMs to continue to function during the reboot of each CVM
- Complete the upgrade and confirm the health of the cluster.
Looking at these steps, while there’s already been simplification and some of the effort has been removed (i.e. Manually visiting each CVM, copying the tar locally and then executing) there is still manual effort required: –
- Initially download the latest update,
- Confirm the file’s integrity (using MD5 checksum),
- Copying and extracting it on a single CVM
- Initiate the upgrade process
- Monitor it’s progress to completion
- Confirm the cluster’s health once the upgrade has completed.
 Enter NOS 4.0 – to address this, one of the features released in NOS 4.0 is 1-Click Upgrade; basically the idea is to take the above steps along with some stringent checks/verifications and automate it, simple. Lets have a look at how you upgrade your Nutanix CVM with NOS 4.0: –
- Login to the PRISM Interface, click on the Settings menu and select Upgrade Software
- Check to see what binary versions are available for download and select the latest (downloads can be paused and deleted, you can even enable the download to happen automatically)
- Alternatively, you can upload your own pre-downloaded binary (great for when there’s no internet access)
- Commence download of the CVM software, this is a background process so you can get on with other work, you don’t need to be watching over this! The usual file integrity checks are done via MD5 checksum and right file size, there’s even a check to make sure the upgrade path is suitable (you want to upgrade to the correct version, right?).
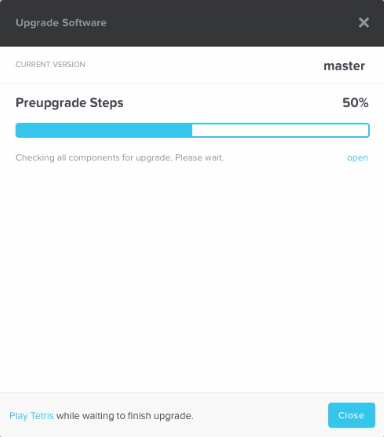
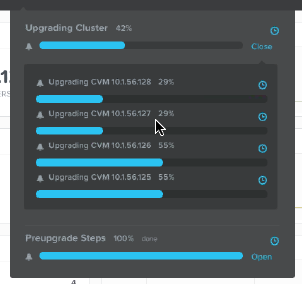
- Install the software on each CVM, including progress details, again you don’t need to sit and watch it happen, alternatively you can Play Tetris if you’ve nothing to do 🙂
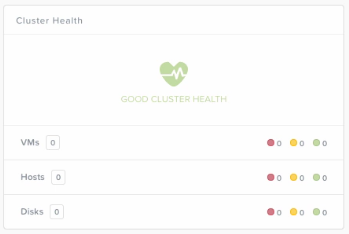
- Finally, confirm the cluster is up / functional and you’re done.
Here’s a Video showing you these steps in action: –
Pretty simple eh, in my experience I’ve never seen a simpler method of deploying a software upgrade to multiple storage controllers.
Check out the Nutanix website http://www.nutanix.com/nos-4-launch/ for more details on NOS 4.0.


// To run prechecks w/o upgrade, hold ctrl key on upgrade button.
LikeLike
Great tip Jerome, thanks for the comment/feedback 🙂
LikeLike